As an artist, you’d think I would have a set process for how I create my work. Most professional artists do. Being self-taught, I definitely don’t have a set process. It varies like you wouldn’t believe. And honestly, I think most of my best work was pure luck. Sure, I’ve got some talent in these hands of mine, and a wild imagination in this head of mine but it seems to become more clouded the older I get.
“Life imitates art far more than art imitates life”
Oscar Wilde
In this post, I will detail how I created my Red Mushrooms painting
This is an example of one of my watercolor pieces where I used crosshatching to outline the subject and give it, its detail. I think it’s a very classic, and underused technique that isn’t seen often enough nowadays.
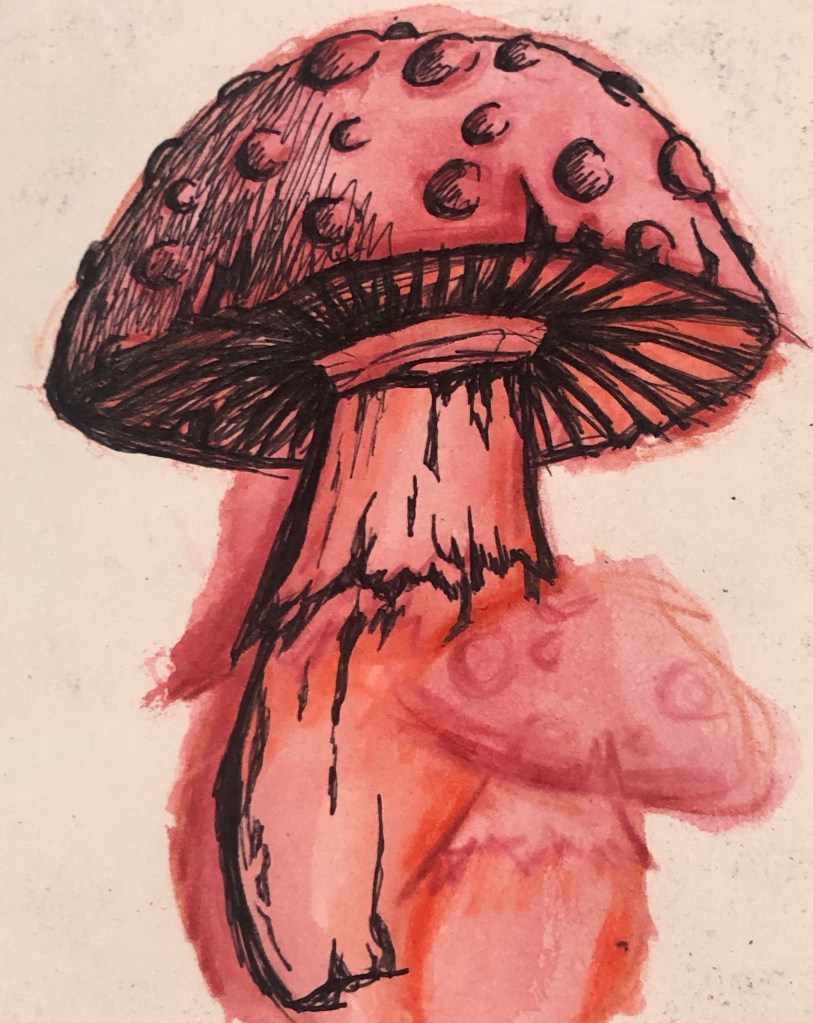
Pictured is the finished product, and I will include more pictures of the entire process below.

To Start :
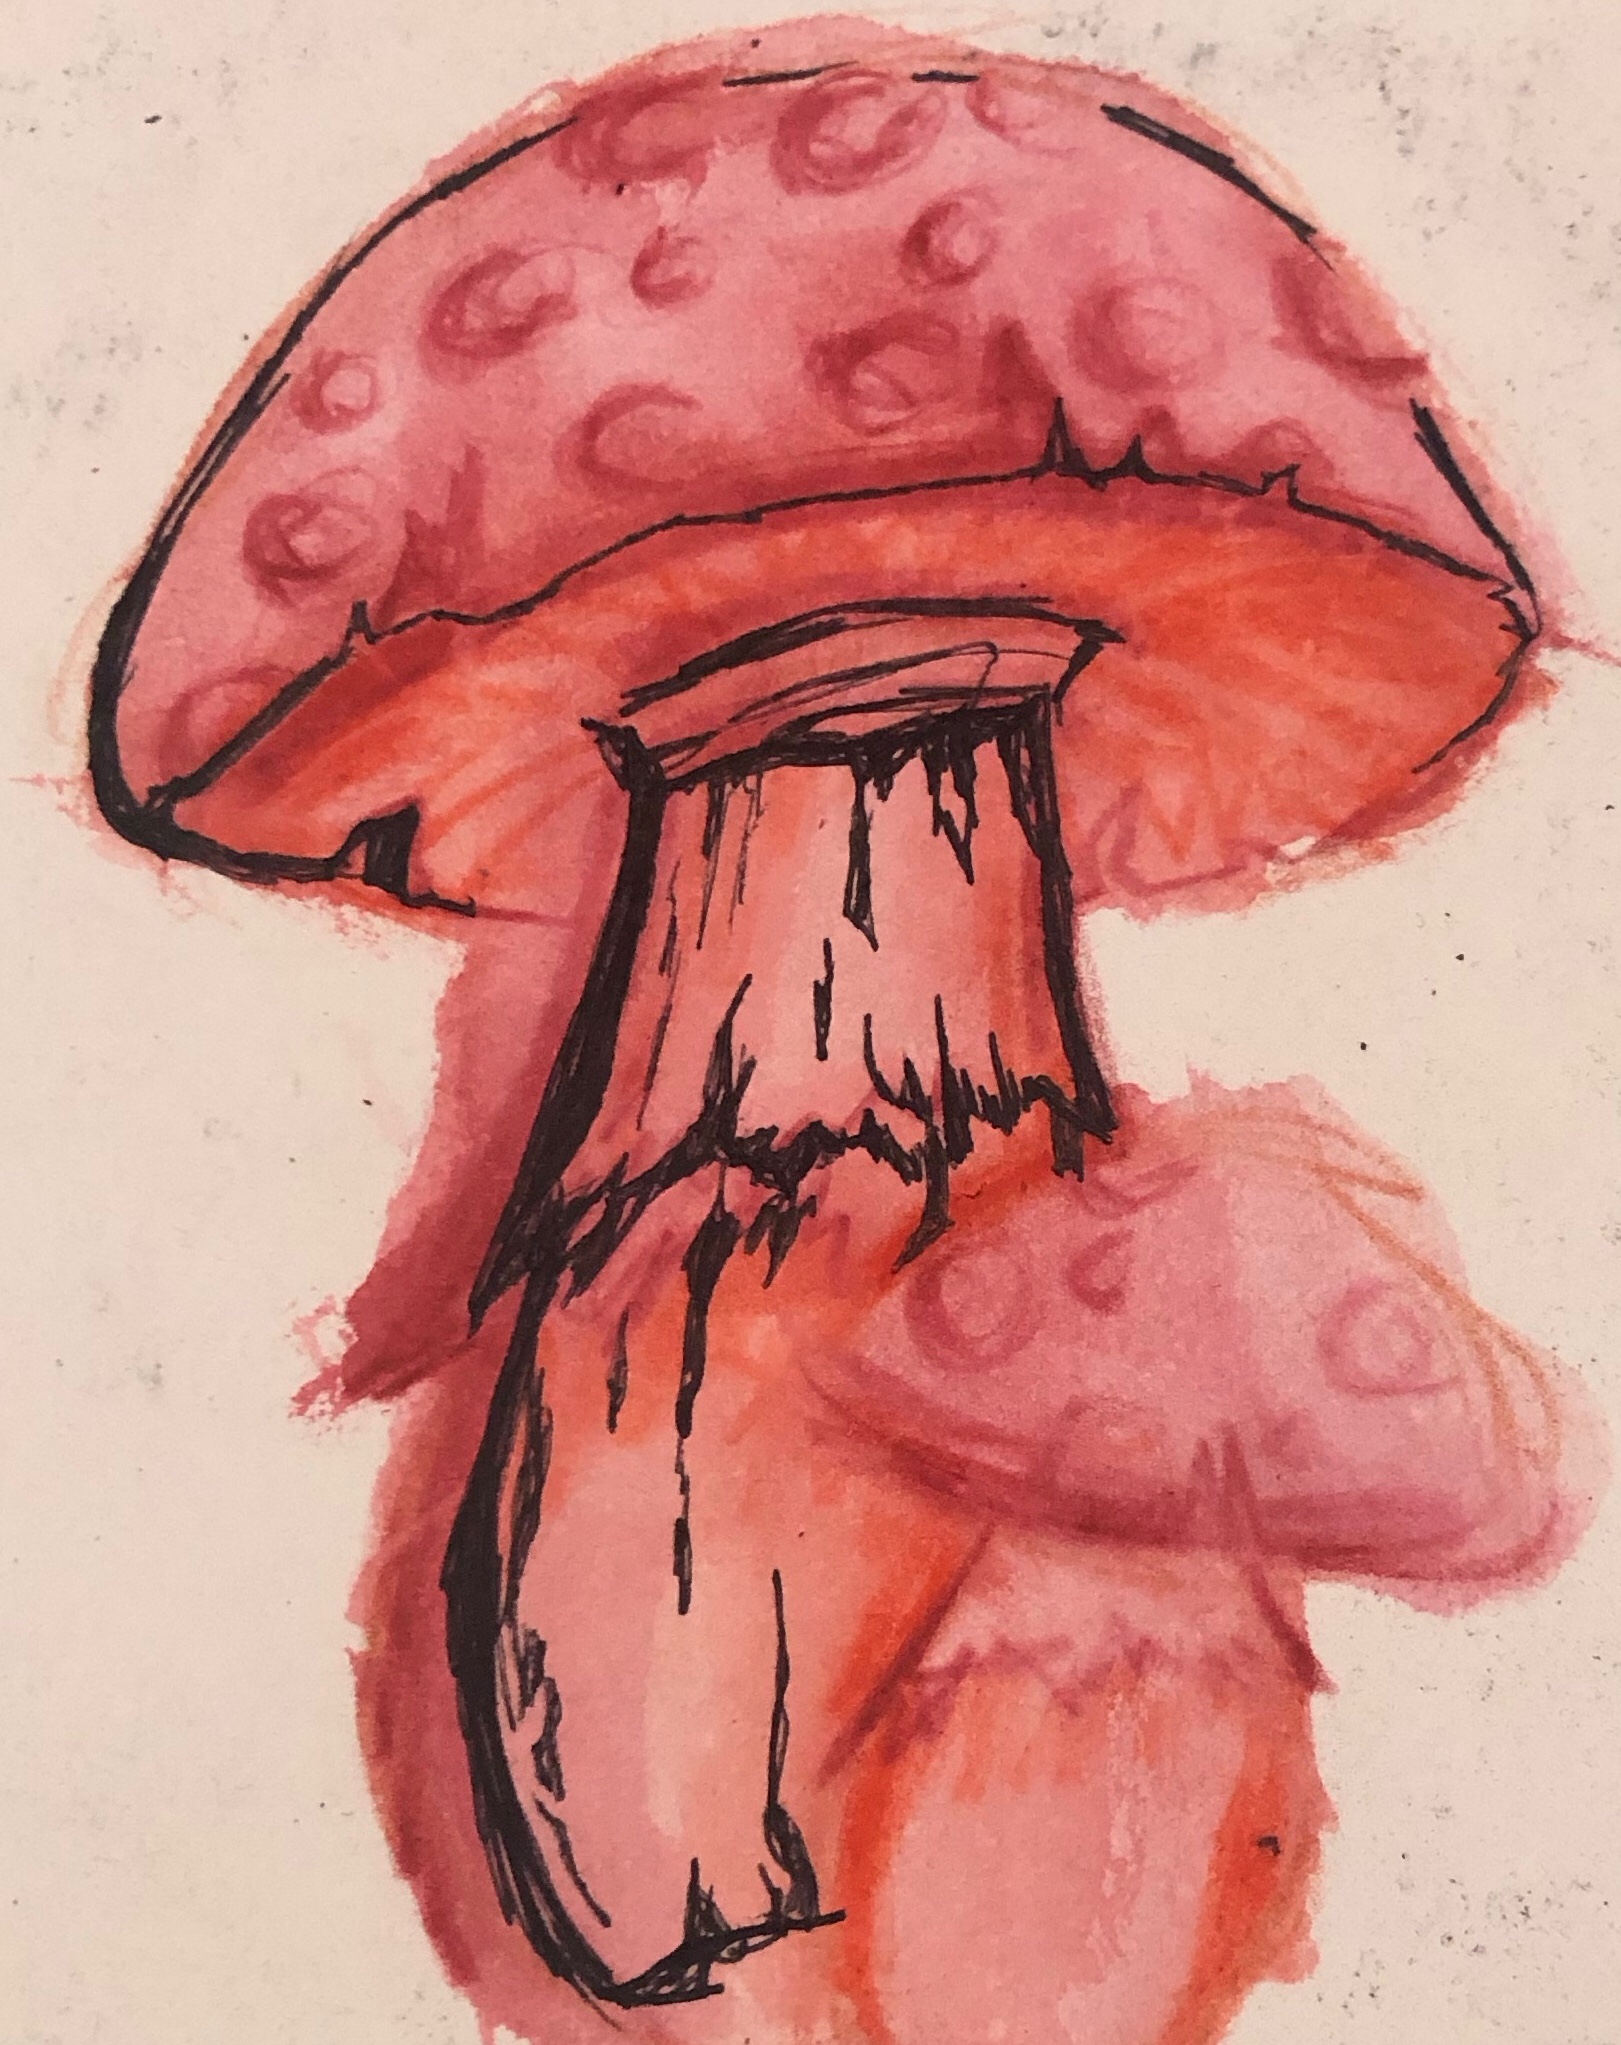
I began by freehanding a few layers of red in watercolor.
- The first layer; to give a generalized idea of the shape of the mushrooms.
- The second; to outline the basic details in the mushroom itself.
- The third; to add a base shadow for where I would end up putting the more dense crosshatches.
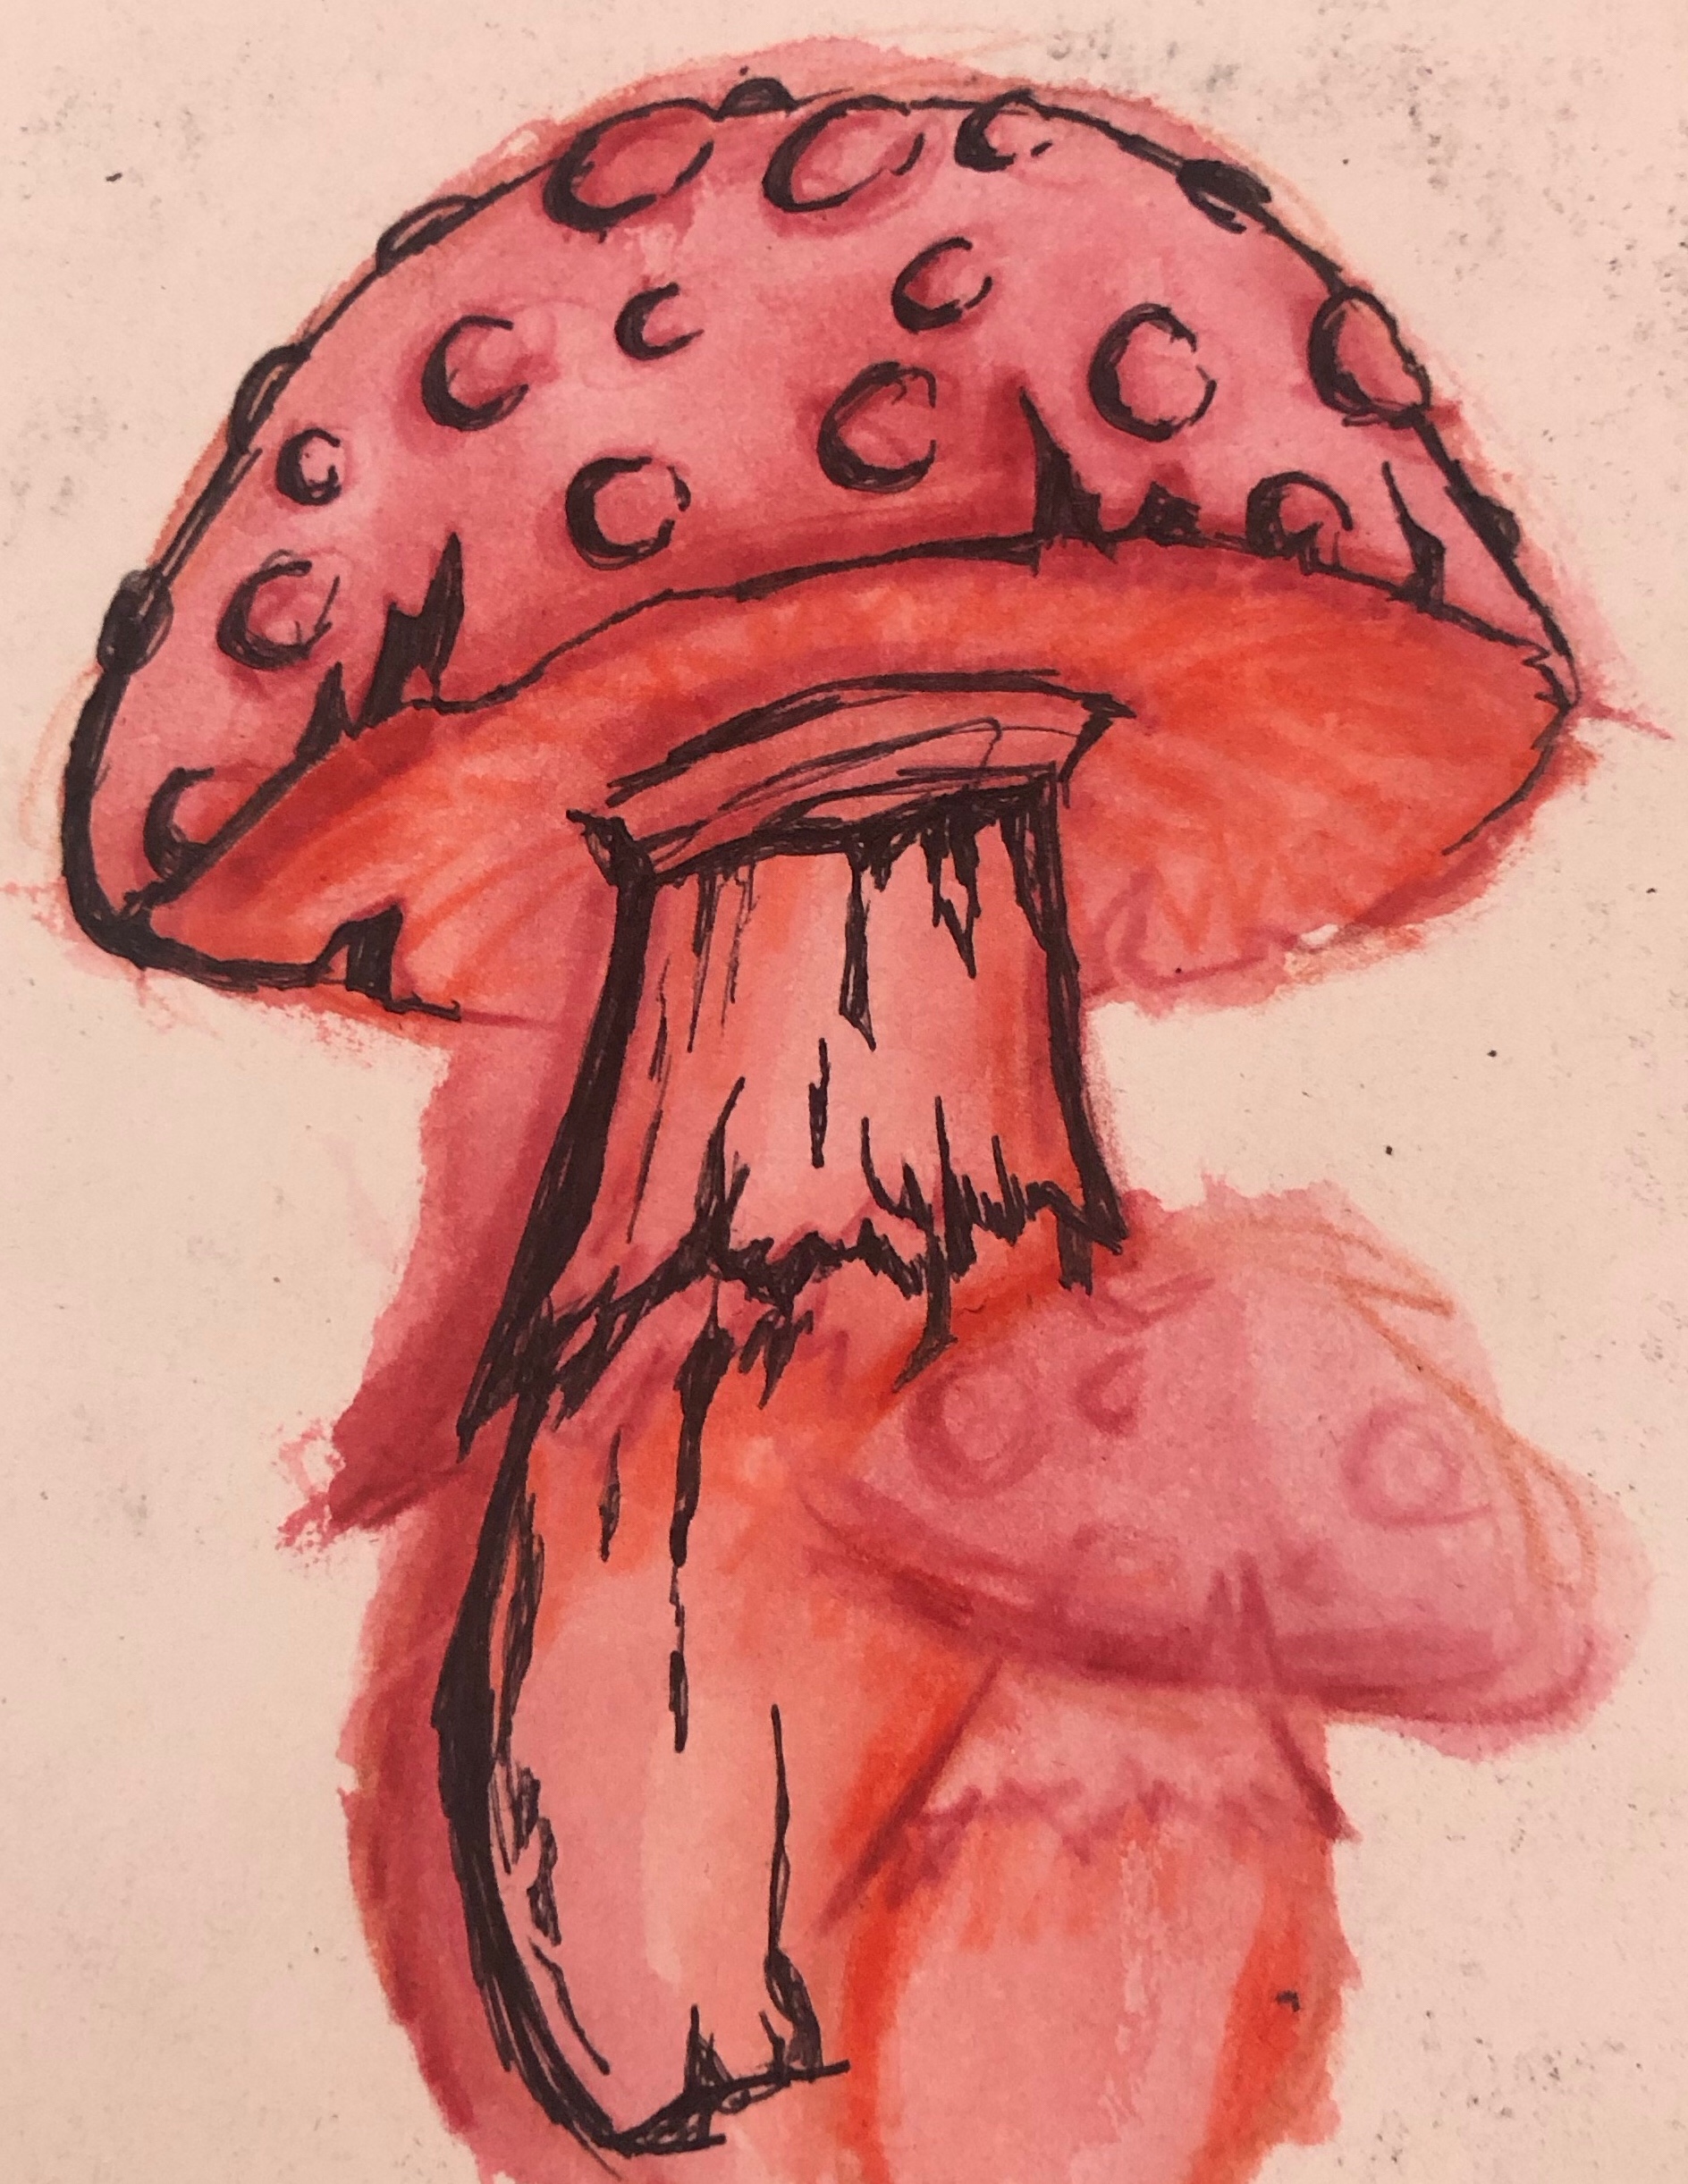
Once dried, I began using a Sharpie S-Gel pen to outline the mushrooms, starting the the one in the back and from the bottom of the stem.
– I’m actually not very good at starting from the bottom so being completely honest, I almost always have to flip my papers upside down if they aren’t taped down to my desk 😅 –
Adding Definition :
Once I have most of the edges outlined, I usually take a break to start outlining some of the key details.
Details such as the spots on the mushroom cap. Outlining them only 60%-90% of the way. Leaving just enough of the edge blank, for the illusion of highlights we’re trying to create.
I like to do that before I finish the whole outline in case the key details might affect how I end up having to shade everything in. When you’re using pen, there’s no room for mistakes unless you want to start over.
However, there are some instances where mistakes can be beneficial. If you can work with a mistake, you also have an opportunity to create something even better than you originally planned.
Crosshatching :
Now this part may seem obvious but I’m still going to explain anyways.
I normally start crosshatching exclusively in one direction until I have all the main shadows covered.
Next, I go over it again in the opposite direction. Making sure to keep the strokes closer together where it’s darker and further apart where it’s lighter.
After I’ve filled in all the shadows, I add a little more depth by going over the original crosshatching, but shorter strokes, keeping closer to the edge.
After that, I just continue over it again, layer by layer until I’m happy with how it looks.
🖤 Thank you so much for reading! I appreciate each and every person who is willing to read my ramblings! Feel free to send me a message or leave a response! I’d love to hear about your techniques or silly things you do when working on your own hobbies! 🖤
If you’d like to see any more of my art, below is a link to my Instagram.
To be clear – I am a self taught artist, I don’t claim to have the correct terminology for some things I will talk about. I’m speaking only from my own experience in the way I best know how. I’m eager to learn all that I can, and hope to eventually become more knowledgeable about art techniques but I have all the time in the world to grow.

